









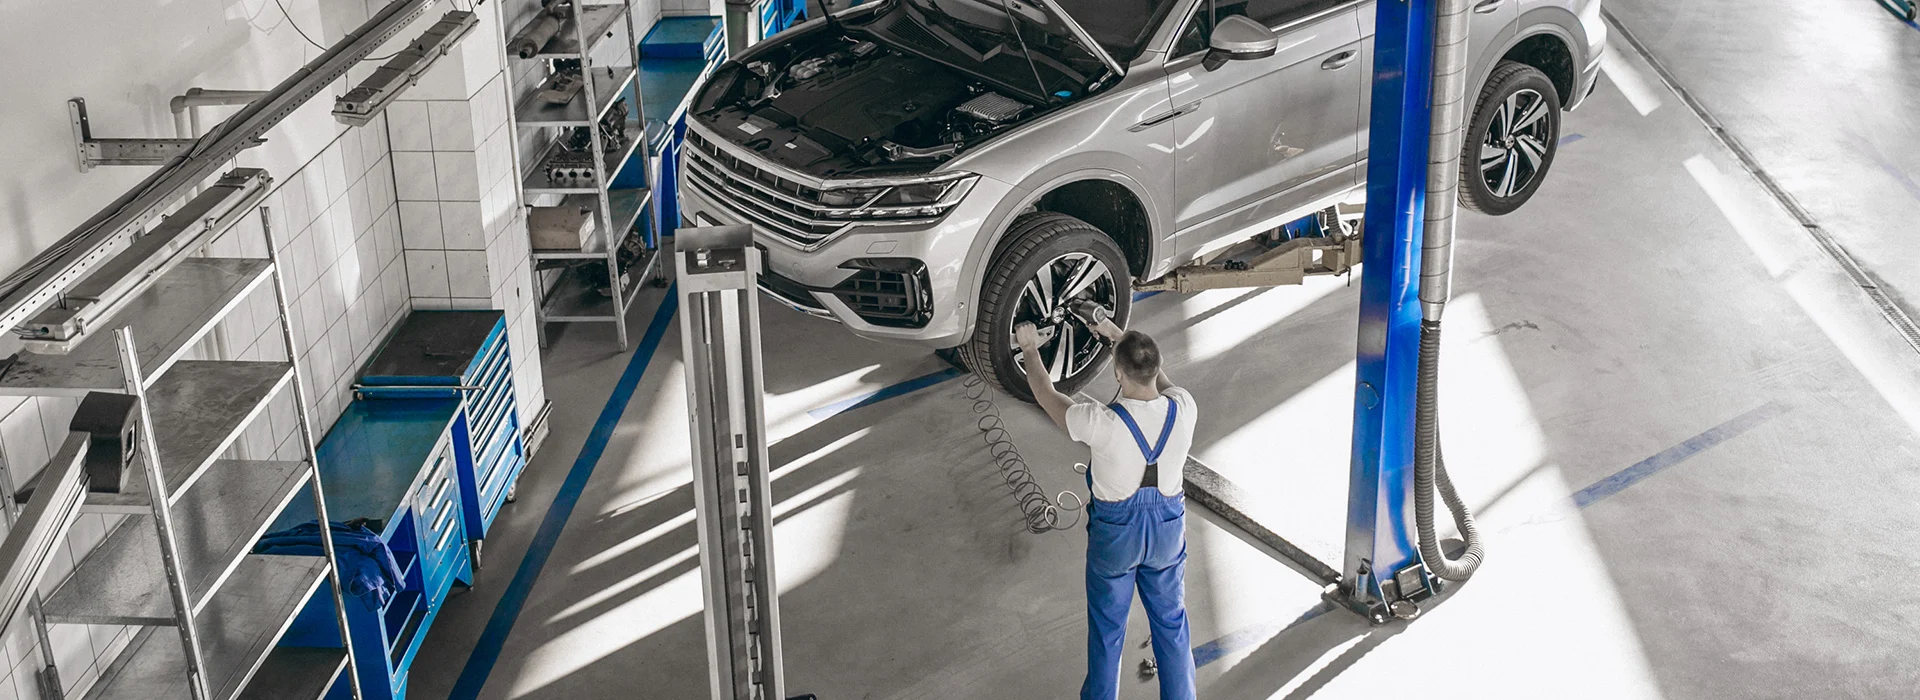
Reliable Brake Services at Pugh’s Tire & Service Centers in Greenville, NC
Whether you need a simple brake inspection or a full brake replacement, we provide thorough diagnostics and quality repairs tailored to your car’s needs. Our brake service typically takes about 60 minutes, ensuring you’re back on the road quickly without compromising on quality.
We pride ourselves on friendly, professional service that car owners in Greenville trust. Our team uses top-grade parts and the latest techniques to deliver dependable brake performance, helping you avoid costly repairs down the line.
Visit Pugh’s Tire & Service Centers for expert brake care that prioritizes your safety and peace of mind. Experience the difference of a service center dedicated to keeping your vehicle in peak condition.
Why Proper Brake Installation Matters:
- Safety First: Properly installed brakes ensure that your vehicle responds accurately when you press the brake pedal. Incorrect installation can lead to reduced braking power, longer stopping distances, or even brake failure, putting you and others on the road at risk.
- Optimal Performance: When brakes are installed correctly, they work efficiently, providing smooth and consistent stopping power. This not only improves your driving experience but also helps maintain control of your vehicle in various driving conditions.
- Longevity of Brake Components: Proper installation helps prevent premature wear and tear on brake pads, rotors, and other related parts. This means fewer repairs and replacements, saving you money in the long run.
- Maintaining Vehicle Value: Well-maintained brakes contribute to the overall health of your vehicle, which can positively impact its resale value.
In summary, as a responsible car owner, investing in professional brake installation and regular maintenance is essential. It ensures your vehicle performs safely and efficiently, giving you peace of mind every time you hit the road.
Here are some common indicators that your vehicle may need new brake pads or rotors:
- Squeaking or Squealing Noises: When brake pads wear thin, they often produce a high-pitched squealing sound as a warning. This noise is caused by a built-in wear indicator designed to alert you before the pads are completely worn out.
- Grinding Sound: A grinding noise when applying the brakes usually means the brake pads are worn down completely, causing metal-to-metal contact with the rotors. This can damage the rotors and requires immediate attention.
- Reduced Braking Performance: If you notice your car takes longer to stop or the brake pedal feels less responsive, it could indicate worn brake pads or warped rotors affecting braking efficiency.
- Vibration or Pulsation: Feeling a vibration or pulsation through the brake pedal when braking often points to warped rotors. This can happen due to excessive heat or uneven wear.
- Visible Wear: Inspecting your wheels, you might see that the brake pads look thin (less than 1/4 inch) or notice grooves and scoring on the rotors, signaling the need for replacement.
- Brake Warning Light: Some vehicles have a dashboard brake warning light that illuminates when there is an issue with the braking system, including worn pads or rotor problems.
Paying attention to these signs and addressing brake issues promptly will keep your vehicle safe and reliable. If you experience any of these symptoms, it's best to have a professional mechanic inspect your brakes and recommend the necessary repairs.
- Prepare Your Workspace: Ensure your car is parked on a flat surface. Use wheel chocks to prevent movement and gather all necessary tools and replacement parts.
- Lift the Vehicle: Use a jack to lift the car and secure it with jack stands. Remove the wheel to access the brake components.
- Remove the Old Brake Components: Start by removing the caliper bolts and carefully take off the brake caliper. Hang it securely to avoid strain on the brake hose. Next, remove the old brake pads and the brake rotor if necessary.
- Inspect and Clean: Check the caliper, brake lines, and other components for wear or damage. Clean the caliper bracket and surrounding areas to ensure proper installation.
- Install New Brake Components: Place the new rotor onto the hub if replaced. Install the new brake pads into the caliper bracket. Compress the caliper piston using a suitable tool to make room for the new pads.
- Reattach the Caliper: Carefully position the caliper over the new brake pads and secure it with the caliper bolts. Ensure all bolts are tightened to the manufacturer's specifications.
- Reinstall the Wheel: Put the wheel back on and hand-tighten the lug nuts. Lower the vehicle and then fully tighten the lug nuts in a star pattern to ensure even pressure.
- Test the Brakes: Before driving, pump the brake pedal several times to seat the brake pads properly. Conduct a slow test drive to confirm the brakes are functioning correctly.
Following these steps will help you complete a brake installation safely and effectively. Remember, if you're ever unsure, consulting a professional mechanic is always a wise choice.
1. Design and Operation
Disc brakes consist of a flat, circular metal disc attached to the wheel. When you press the brake pedal, brake pads clamp onto the disc to slow down or stop the vehicle. Drum brakes, on the other hand, have a drum-shaped housing that rotates with the wheel. Inside the drum, brake shoes press outward against the drum's interior surface to create friction and stop the car.
2. Performance and Efficiency
Disc brakes generally offer better stopping power and heat dissipation. Because the disc is exposed to air, it cools faster, reducing the risk of brake fade during heavy use. Drum brakes tend to retain more heat, which can decrease braking efficiency over time, especially under demanding conditions.
3. Maintenance and Durability
Disc brakes are easier to inspect and replace since the components are visible and accessible. They also tend to wear more evenly. Drum brakes have more complex internal parts, making maintenance a bit more involved. However, drum brakes are often more protected from dirt and debris, which can be advantageous in certain environments.
4. Cost Considerations
Drum brakes are typically less expensive to manufacture and replace, which can make them a cost-effective option for some vehicles. Disc brakes, while sometimes pricier upfront, offer superior performance that many car owners find worth the investment.
5. Common Usage
Many modern vehicles use disc brakes on the front wheels for better stopping power and drum brakes on the rear wheels to reduce costs. However, high-performance and newer cars often feature disc brakes on all four wheels.
In summary, both disc and drum brakes have their advantages. As a car owner, consider your driving habits, vehicle type, and maintenance preferences when deciding which braking system suits you best.
- Skipping the Cleaning Process: Dirt, rust, and debris on brake components can reduce braking efficiency. Always clean the rotor, caliper, and surrounding areas thoroughly before installation.
- Not Inspecting Brake Components: Installing new brake pads without checking the condition of rotors or calipers can lead to uneven wear or poor braking. Inspect all parts and replace any that are worn or damaged.
- Improper Torque on Bolts: Over-tightening or under-tightening caliper bolts can cause brake failure or damage. Use a torque wrench and follow manufacturer specifications carefully.
- Neglecting to Lubricate: Failing to apply brake grease on the back of pads or sliding pins can cause noise and uneven pad wear. Proper lubrication ensures smooth operation.
- Ignoring Brake Fluid Maintenance: Not checking or replacing brake fluid during installation can lead to spongy brakes or system failure. Bleed the brakes properly to remove air bubbles.
- Reusing Old Hardware: Using worn clips, pins, or springs can compromise brake performance. Always replace hardware with new parts when possible.
- Not Testing Brakes After Installation: Failing to test the brakes before driving can be dangerous. Perform a careful test to ensure everything functions correctly.
By avoiding these common mistakes, car owners can ensure their brake installation is safe, effective, and long-lasting. Remember, taking the time to do the job right protects you and others on the road.
- Break in your new brakes properly: After installation, avoid heavy braking for the first 200-300 miles. Gradually increase braking intensity to allow the brake pads and rotors to bed in correctly, ensuring maximum performance and longevity.
- Regularly check brake fluid levels: Brake fluid is vital for your braking system. Make sure to check the fluid level periodically and top it up with the recommended type if necessary. Also, consider flushing and replacing brake fluid every 2 years to prevent moisture buildup and corrosion.
- Inspect brake components frequently: Keep an eye on brake pads, rotors, and calipers for signs of wear or damage. Early detection of issues can prevent costly repairs and maintain braking efficiency.
- Keep your brakes clean: Dirt and debris can accumulate on brake parts, affecting their function. Clean the brake components gently during routine maintenance to avoid buildup that can cause noise or reduced braking power.
- Avoid riding the brakes: Constantly pressing the brake pedal lightly can cause unnecessary wear. Use brakes only when needed and try to anticipate stops to brake smoothly.
- Listen for unusual noises: Squealing, grinding, or clicking sounds can indicate brake problems. If you notice any unusual noises, have your brakes inspected promptly by a professional.
- Schedule regular professional inspections: Even with careful maintenance, professional check-ups are essential. Mechanics can spot issues that might not be visible and ensure your braking system remains in top shape.
By following these tips, you can enjoy the full benefits of your newly installed brakes, ensuring safety and peace of mind every time you hit the road.